
One Box To Rule Them All
This is for all you lazy ass pentesters that don’t want to move out of their comfort zone a.k.a. their Hobbit cave to conduct an on site assessment.
I lately (for reasons) was on the hunt for options to have something I could send to a customer and do all my testing as if I were there in person.
You are invited to join me on this small journey and follow along my thoughts, building process, buying stuff etc.

Introduction
Wouldn’t it be really cool if we could stay in our cozy home while carrying out a full fledged internal pentest??
Ofcourse it would.
So the idea was born to actually come up with thought through ideas and options that would fulfill all MY needs and requirements. I know that there are actually a lot of options and possible combinations available.
As so many of these topics, it all started with myself starting a tweet on X. Because, why would I search the internet myself :)

And holy moly people came up with lots of ideas. From Raspberry Pis, to small form factor PCs or even 2HE appliances and even cloud only stuff.
From just one OS (mostly nix) to virtualization and from Teamviewer, WireGuard, OpenVPN, proxy your tools or have them all with you, it was a wild mixture.
I also knew about some write-ups, and some that helped shall be mentioned here, although what I came up with is something different:
https://www.scip.ch/en/?labs.20230810
https://www.sprocketsecurity.com/resources/penetration-testing-dropbox-setup-part1
https://posts.specterops.io/offensive-security-guide-to-ssh-tunnels-and-proxies-b525cbd4d4c6
https://posts.specterops.io/proxy-windows-tooling-via-socks-c1af66daeef3
So it once again was up to good old me to build stuff the way I needed it.
Let’s jump in.
Thoughts
Okay, so let me just give you some of the bulletpoints that I had on my mind:
- All tools that are needed to carry out an internal pentest should be on board.
- Want Linux and Windows world available.
- I did not want to proxy anything. I know it is possible, but it also has its limits and is prone to errors. Things like Kerberos etc. could become a pain in the ass.
- Keep it as simple as possible. The last thing I want is to spend time on troubleshooting stuff rather than pwning things. Also the customer should be able to fire and forget. Just plug it in - go.
- Make it safe. Safe to use, safe to send around, data encrypted etc.
- Easy to connect to from my home base, no matter where it would land.
- Easy to reset once an engagement was finished, being able to start with a fresh instance for the next one.
- Stay as compact as possible.
- Keep costs as low as possible while having all I need.
- Everything needs to be tested, so replicate a real world example from start to finish to be on the safe side. I am absolutely scared of things not working and having to fiddle around under stress.
- Needs to be portable and usable when I sit in front as well, as I may need to actually work on-site.
I really wanted the base to be Windows. On the one hand I feel comfy with it and on the other hand the customer would do so too IF something needs to be figured out.
I also wanted VMWare, as I am used to it, and know how everything works (not the cheapest options, I know).
The Setup
Basics
My choice of hardware ended up with:
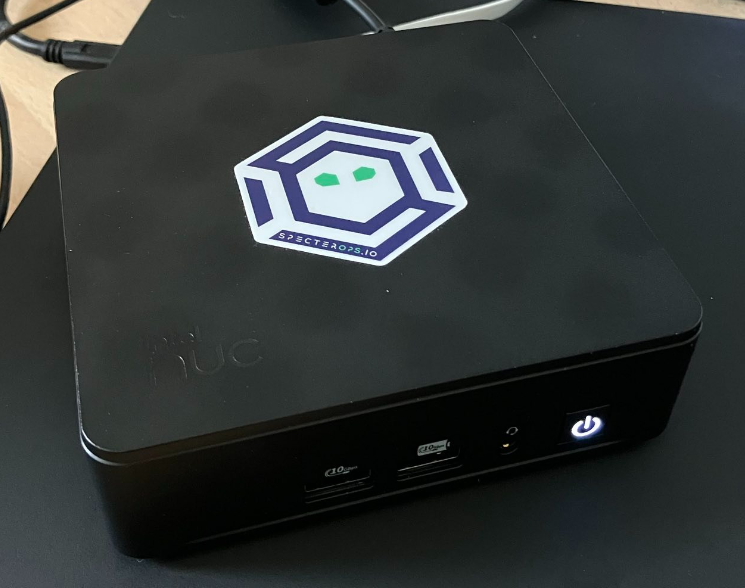
Intel NUC 13 Pro i7 - got it used for 320€
Samsung 980 1TB SSD - got it new for 60€
Kingston Fury Impact 32GB RAM - got it off of Amazon for 72€
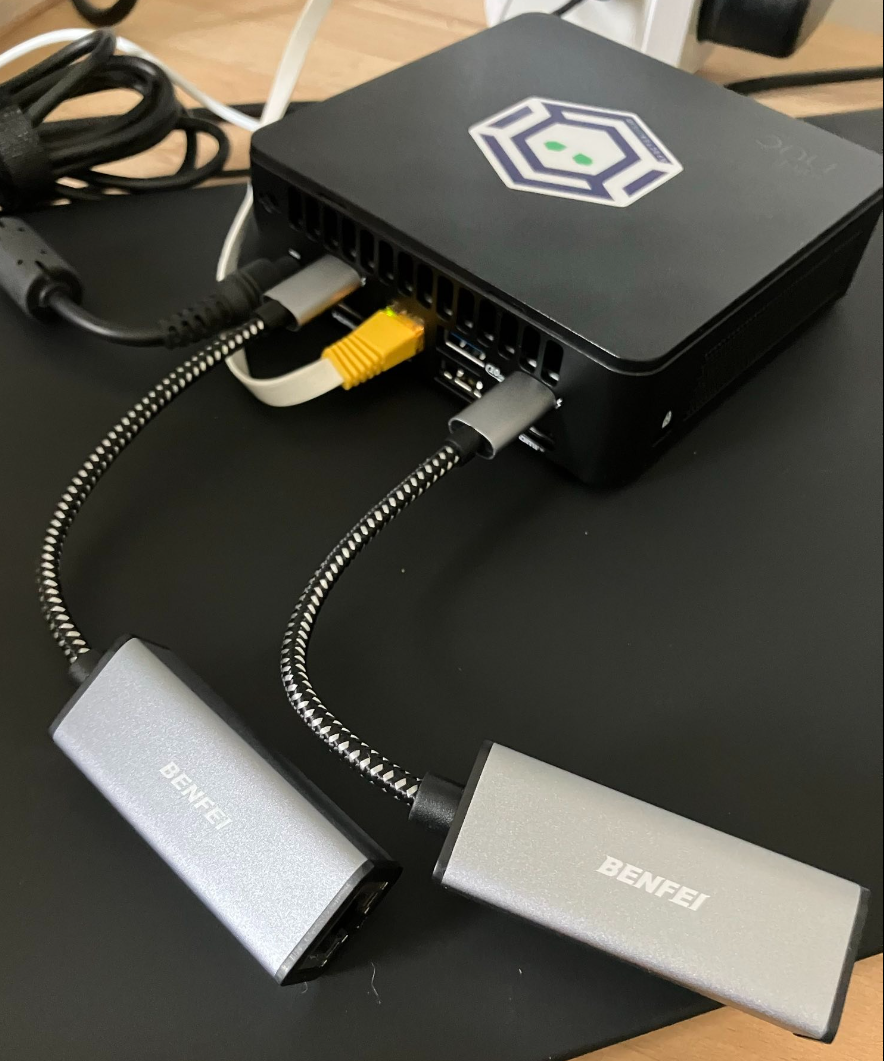
USB-C Ethernet Adapter 2x - 10€ / adapter
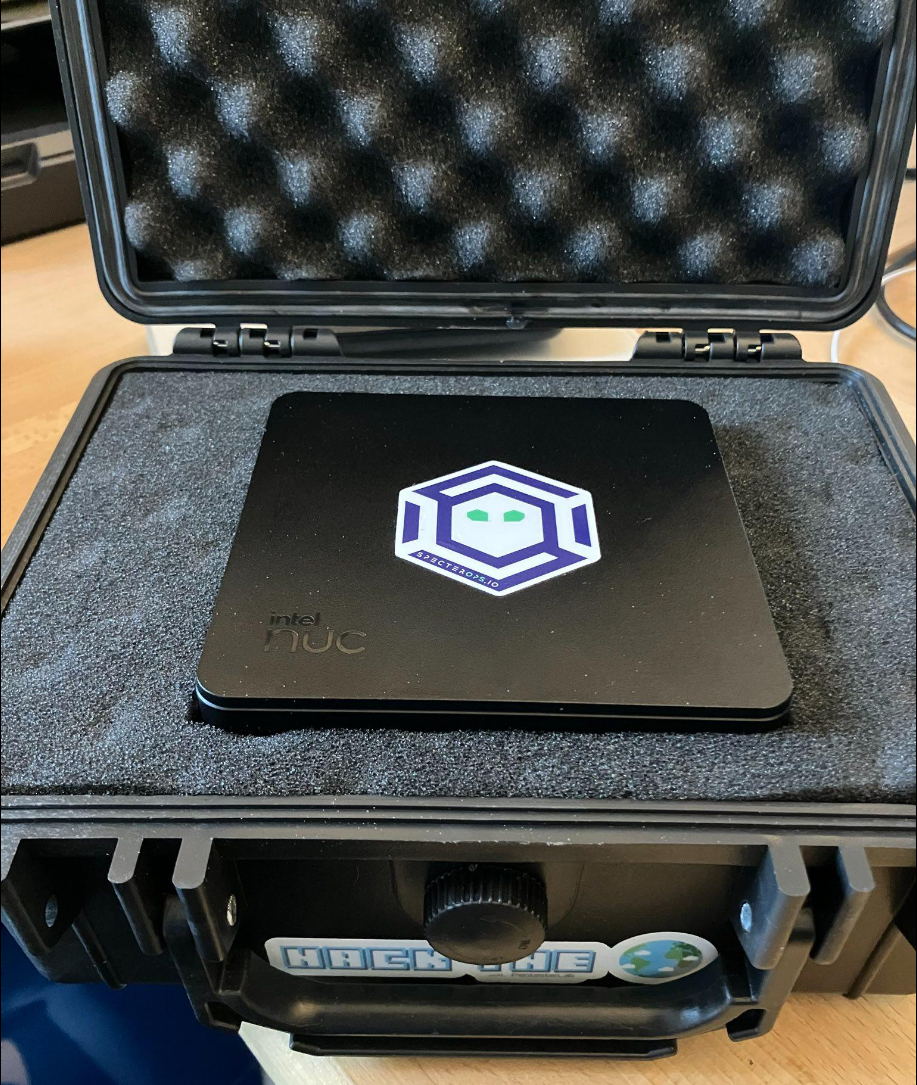
Carry case for shipment - Amazon 24€ -> pro tip: save the packing material as you can perfectly use it when you ship your stuff
As for the software I went with:
2x Windows 10 Pro
1x VMWare Workstation Pro 17
1x Kali
I have no own publicly reachable infrastructure and did not want to spend money on it, hence my own VPN solution was off the table.
For connectivity I for now opted for https://tailscale.com which’s free plan I can use, and will maybe add Teamviewer or Anydesk as a backup in the future.
The basic idea is to have the dropbox auto connect to TailScale. Once I see it - connect to it and start the Kali and Windows VM that each have a dedicated USB NIC connected to the corporate network.
It would be possible to ship the box with an LTE modem to be on the safe side, but for now the idea is that the customer either uses the NUC’s WiFi or built-in NIC to connect it to the internet however they like it, which should be sufficient.
Some pics of the box
Details
Autologon
The setup process, once on site, should be as little effort as possible. But, I also need to think security as a hax0r right.
The NUC is encrypted with BitLocker in TPM + PIN mode. The customer would need to hook all the cables up: 2-3x Ethernet, Power, HDMI monitor and keyboard, enter the decryption PIN and should be ready to go (one addtional step might be the WiFi config if he opted for it). Pretty simple huh?
After entering the PIN the system auto logs in to Windows. This can be done in the registry like so:
Computer\HKEY_LOCAL_MACHINE\SOFTWARE\Microsoft\Windows NT\CurrentVersion\Winlogon
AutoAdminLogon = 1
DefaultUserName = <the user to login>
DefaultPassword = <well, the password>
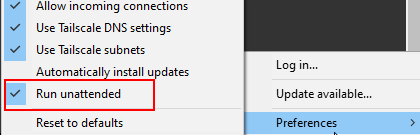
TailScale is set up to also autologin so that once internet connection is there - TailScale is there. According to the developers it does not matter if you are behind a firewall or whatever, hence this should work like in mostly every case and internet accessibility would be a prerequisit to the customers.
Virtualization (Problems)
Yeah there were some problems to be honest. The most crucial ones shall be mentioned here.
First, I wanted the USB-C Ethernet adapters to automagically connect to their respective VMs. In the past you would add lines to the according .vmx files, but this does not work anymore.
Instead, if you attach a device to the host the well known popup shows, asking if you want to connect to the host or a VM and if you want to save this for the future. This will create usbarb rules which you can finde at C:\ProgramData\VMware\VMware USB Arbitration Service\usbarb.rules.
In my special case the VID, PID and also SN of both adapters were exactly the same (obviously), and it took me several attempts to get this right, needing to delete the file or manually fiddling around with it, so prepare for that if you go that route.
{
  "version": 1,
  "rules": [
    {
      "id": 5,
      "string_v3": "name:Realtek\\ USB\\ 10/100/1000\\ LAN vid:0bda pid:8151 path:1/0/3 speed:super family:vendor,comm serialnum:000000 version:3",
      "string_v4": "name:Realtek\\ USB\\ 10/100/1000\\ LAN vid:0bda pid:8151 path:1/0/3 speed:super family:vendor,comm serialnum:000000 version:4",
      "string_v5": "name:Realtek\\ USB\\ 10/100/1000\\ LAN vid:0bda pid:8151 path:1/0/3 speed:super family:vendor,comm serialnum:000000 version:5",
      "targets": [
        {
          "user": "DSC",
          "target": "vmware-vmx:C:\\VMs\\Commando\\Commando.vmx",
          "displayName": "Commando"
        }
      ]
    },
    {
      "id": 6,
      "string_v3": "name:Realtek\\ USB\\ 10/100/1000\\ LAN vid:0bda pid:8153 path:1/0/1 speed:super family:vendor,comm serialnum:000000 version:3",
      "string_v4": "name:Realtek\\ USB\\ 10/100/1000\\ LAN vid:0bda pid:8153 path:1/0/1 speed:super family:vendor,comm serialnum:000000 version:4",
      "string_v5": "name:Realtek\\ USB\\ 10/100/1000\\ LAN vid:0bda pid:8153 path:1/0/1 speed:super family:vendor,comm serialnum:000000 version:5",
      "targets": [
        {
          "user": "DSC",
          "target": "vmware-vmx:C:\\VMs\\Kali\\Kali.vmx",
          "displayName": "Kali"
        }
      ]
    },
    {
      "id": 3,
      "string_v3": "name:Realtek\\ USB\\ 10/100/1000\\ LAN vid:0bda pid:8153 path:1/0/1 speed:super family:vendor,comm version:3",
      "string_v4": "name:Realtek\\ USB\\ 10/100/1000\\ LAN vid:0bda pid:8153 path:1/0/1 speed:super family:vendor,comm version:4",
      "string_v5": "name:Realtek\\ USB\\ 10/100/1000\\ LAN vid:0bda pid:8153 path:1/0/1 speed:super family:vendor,comm version:5",
      "targets": [
        {
          "user": "DSC",
          "target": "vmware-vmx:C:\\VMs\\Commando\\Commando.vmx",
          "displayName": "Commando"
        }
      ]
    },
    {
      "id": 4,
      "string_v3": "name:Realtek\\ USB\\ 10/100/1000\\ LAN vid:0bda pid:8151 path:1/0/1 speed:super family:storage,storage-bulk version:3",
      "string_v4": "name:Realtek\\ USB\\ 10/100/1000\\ LAN vid:0bda pid:8151 path:1/0/1 speed:super family:storage,storage-bulk version:4",
      "string_v5": "name:Realtek\\ USB\\ 10/100/1000\\ LAN vid:0bda pid:8151 path:1/0/1 speed:super family:storage,storage-bulk version:5",
      "targets": [
        {
          "user": "DSC",
          "target": "vmware-vmx:C:\\VMs\\Commando\\Commando.vmx",
          "displayName": "Commando"
        }
      ]
    }
  ]
}
You can see it is mixed up again, but it works as is, so I am not going to touch it now.
In a very late stage, where everything was already up and running, my kali VM started to freeze VERY often shortly after starting it. I first thought it was Firefox, because it always was in combination. But after I uninstalled it, the problem popped up shortly after again. top was running in an open terminal, and I could not identify something odd.
So it turned out that VMWare and Windows, especially Hyper-V and Device / Credential Guard and virtualization based security, did not go hand in hand very well. I stumbled upon this reddit post and disabled all the crap.
Uninstall Hyper-V itself under the Windows features:
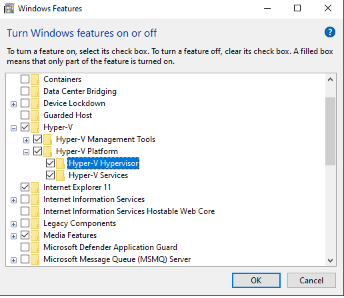
Disable Credential Guard:
Key path: HKEY_LOCAL_MACHINE\SYSTEM\CurrentControlSet\Control\Lsa
Key name: LsaCfgFlags
Type: REG_DWORD
Value: 0

Key path: HKEY_LOCAL_MACHINE\SOFTWARE\Policies\Microsoft\Windows\DeviceGuard
Key name: LsaCfgFlags
Type: REG_DWORD
Value: 0
If you happen to have it run with UEFI lock enabled you need to:
mountvol X: /s
copy %WINDIR%\System32\SecConfig.efi X:\EFI\Microsoft\Boot\SecConfig.efi /Y
bcdedit /create {0cb3b571-2f2e-4343-a879-d86a476d7215} /d "DebugTool" /application osloader
bcdedit /set {0cb3b571-2f2e-4343-a879-d86a476d7215} path "\EFI\Microsoft\Boot\SecConfig.efi"
bcdedit /set {bootmgr} bootsequence {0cb3b571-2f2e-4343-a879-d86a476d7215}
bcdedit /set {0cb3b571-2f2e-4343-a879-d86a476d7215} loadoptions DISABLE-LSA-ISO
bcdedit /set {0cb3b571-2f2e-4343-a879-d86a476d7215} device partition=X:
mountvol X: /d
bcdedit /set {0cb3b571-2f2e-4343-a879-d86a476d7215} loadoptions DISABLE-LSA-ISO,DISABLE-VBS
bcdedit /set vsmlaunchtype off
And to disable VBS delete:
Key path: HKEY_LOCAL_MACHINE\SYSTEM\CurrentControlSet\Control\DeviceGuard
Key name: EnableVirtualizationBasedSecurity

Key path: HKEY_LOCAL_MACHINE\SYSTEM\CurrentControlSet\Control\DeviceGuard
Key name: RequirePlatformSecurityFeatures
In the past I needed this to be able to run nested VMs and created this script which you can use to automate the steps.
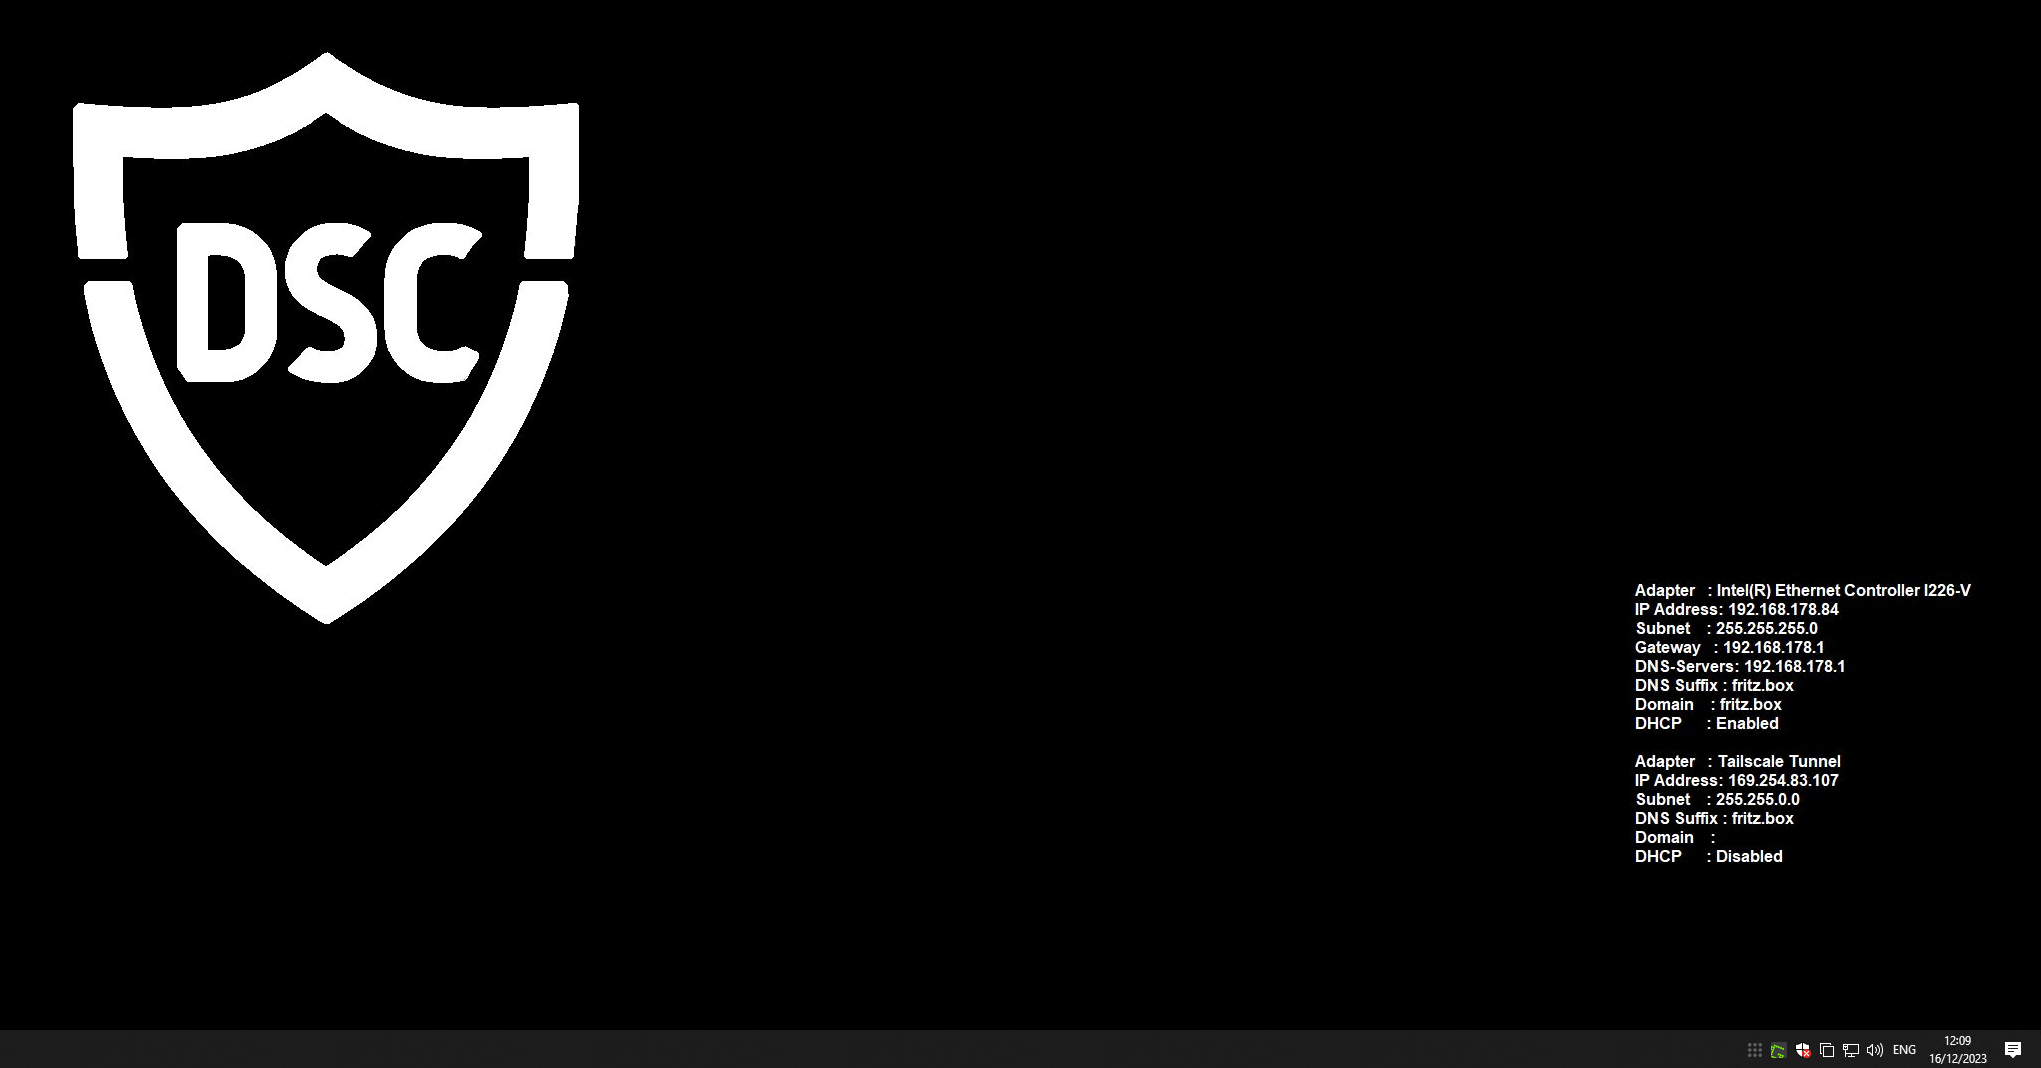
BGInfo (Auto Update)
For the customer to be able to visualize if everything is okay once the box is up (or for troubleshooting) I wanted all the network info displayed on the Desktop.
Sure, you go with BGInfo. But making it display what I wanted honestly took more then the rest of the whole setup ^^.
It would not save custom fields when they are of the type WMI query. Usign default IP info is a pita. Several times I deleted my wallpaper. It was a pain in the ass deluxe.
In the end I went with a VBScript file, which you can also add as custom field and which actually gets saved. Chat-GPT to the win once again.
strComputer = "."

On Error Resume Next

Set objWMIService = GetObject("winmgmts:" & "{impersonationLevel=impersonate}!\\" & strComputer & "\root\cimv2")

Set colSettings = objWMIService.ExecQuery("SELECT * FROM Win32_NetworkAdapterConfiguration where IPEnabled = 'True'")

For Each objIP in colSettings
   If objIP.DHCPEnabled Then
      DHCPStatus = "Enabled"
   Else
      DHCPStatus = "Disabled"
   End If

   For i = LBound(objIP.IPAddress) to UBound(objIP.IPAddress)
      If InStr(objIP.IPAddress(i), ":") = 0 Then
         If objIP.IPAddress(i) <> "192.168.126.1" And objIP.IPAddress(i) <> "192.168.245.1" Then
            Echo "Adapter   : " & objIP.Description
            Echo "IP Address: " & objIP.IPAddress(i)
            Echo "Subnet    : " & objIP.IPSubnet(i)
            Echo "Gateway   : " & objIP.DefaultIPGateway(i)

            ' Display all DNS Servers on the same line
            Echo "DNS-Servers: " & Join(objIP.DNSServerSearchOrder, ", ")

            ' Connection-specific DNS Suffix
            Echo "DNS Suffix : " & Join(objIP.DNSDomainSuffixSearchOrder, ", ")

            Echo "Domain    : " & objIP.DNSDomain(i)
            Echo "DHCP      : " & DHCPStatus
            Echo " "
         End If
      End If
   Next
Next
But how would I properly update all the info IN TIME???
I wanted it to always show the most current info on the Desktop. It should change on link up or link down. It should change when an IP changed. It should change when TailScale connected or disconnected, when a user logs in or remotely connects, etc.
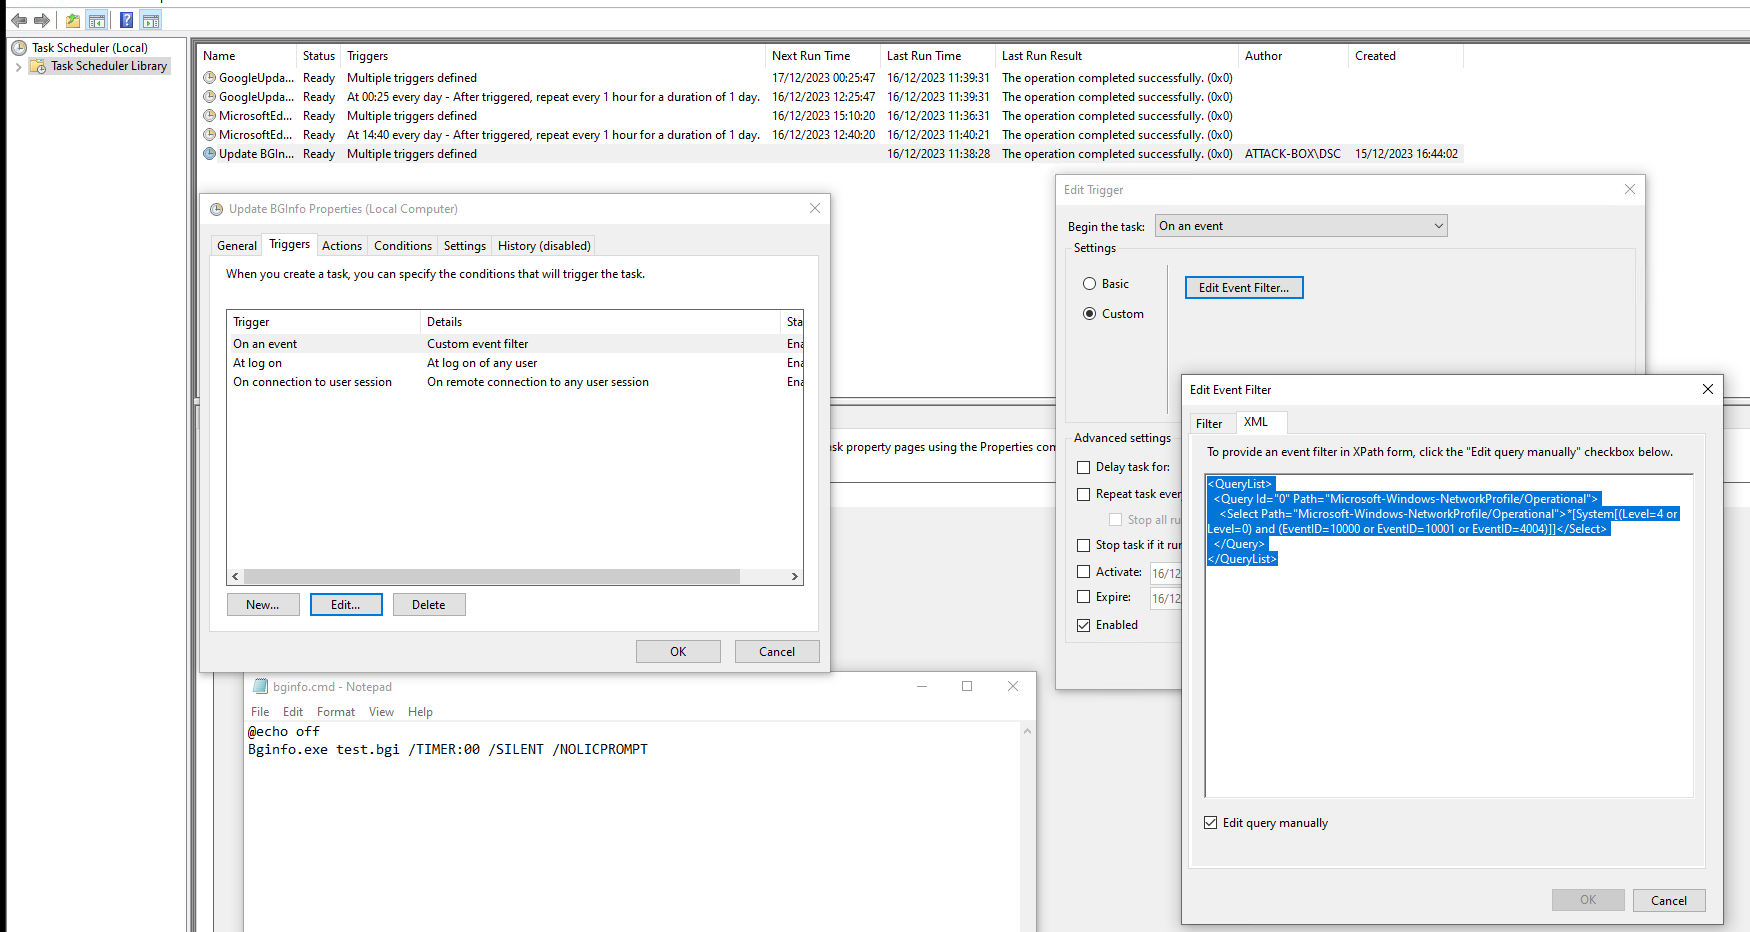
So I went down the hacky road and created a scheduled task that would fire on a custom filter on the event log which looks like this:
<QueryList>
  <Query Id="0" Path="Microsoft-Windows-NetworkProfile/Operational">
    <Select Path="Microsoft-Windows-NetworkProfile/Operational">*[System[(Level=4 or Level=0) and (EventID=10000 or EventID=10001 or EventID=4004)]]</Select>
  </Query>
</QueryList>
The whole setup looks like this:
And the endresult like so:
Encryption
I wanted everything encrypted, not only the dropbox but also the two VMs.
Why?
Because the customer has physical access to the box and I don’t want them to snoop around.

It also serves as an additional layer of security and I just feel better with it. If you need to move the machines to another host, the data inside would still be protected, and after a pentest there most likely would be lots of juicy things floating around.
On kali you can only use full disk encryption if you use the installer ISO and select to encrypt during the setup process.
Energy Settings
Make sure to put everything to never go to sleep. The dropbox itself as well as the VMs. Not having direct access, the last thing you want is to lose connection and call the customer, telling them you were too dumb to set things up correctly.
Snapshots
Once you have the VMs set up to your liking and made sure all tools are working fine -> make a snapshot. Those will serve as the base images that you can revert to once a job is done.
You can also regularely expand them, install updates and new tools etc. and then create a new base image.
You are also flexible on where to run them. New dropbox - no problem. Customer wants to run your stuff directly on his infra - no problem.
I copied both to my NAs as a backup.
Test Test Test
I can’t stress this enough. As I said, I really don’t love to be suprised and am afraid of things not working when they should.
My final test lab, which obviously needed to be the stuff I have at home, looked like this:
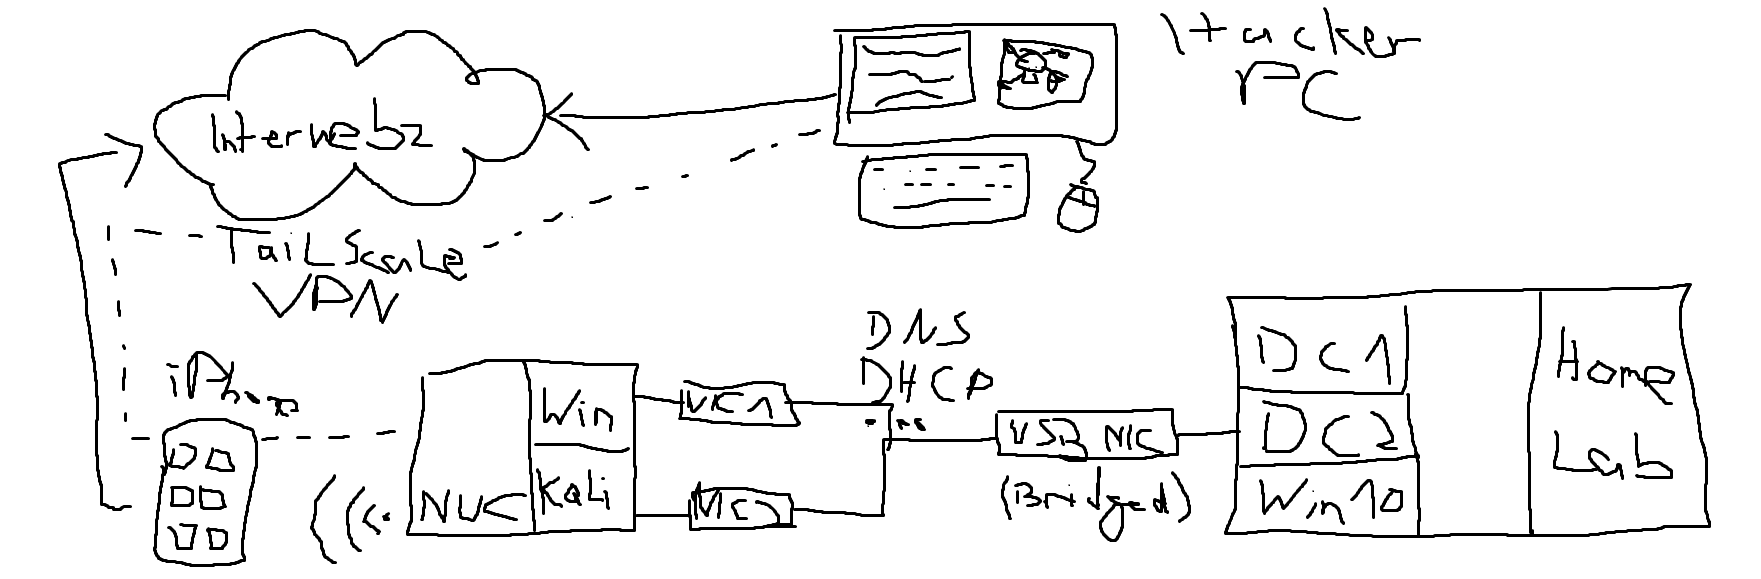
Well, actually I can’t afford a lab and a hacker PC. Hence, the lab is just VMWare on my PC running the whole lab (2 DCs, 1 App Server, some clients, ADCS, ADDS, and lots of misconfigs etc.). In order to be able to login to my virutal lab network from external, I connected the NUC via WiFi to my iPhone sharing LTE. On the server side I plugged in another USB NIC to one of the DCs and bridged it with the virtual one, so it would issue IPs over DHCP and allow external devices to be connected to my VM only network. Having only one NIC, I switched between connecting the Windows and Kali box to the virtual network.
I tested all the tools. I tested DHCP, DNS, Kerberos auth, NTLM auth, password auth. I ran nearly all the tools: impacket, certify, certipy, cme, SharpHound, DomainPasswordSpray, WinPwn, mitm6, responder - you name it. And I rebooted, tested again. And again. And again.
When first connecting to the lab I saw that I got IPs, Gateways, DNS etc. like it should via DHCP, but when I tried to resolve the lab domain mcafeelab.local it would not resolve. On the windows box I saw that it actually used the host-only NIC to reach out to the domain which I did not understand.
If DNS server 1 fails, I would have expected that it tries the ones from the 2nd NIC. But it did not. Once i disabled the host-only NICs in both VMs, it all worked like a charm. Afterwards re-enabling the NICs still worked. I have no clue how and why, but in case this becomes a problem at the customer I will just disable them again, as I am anyways working over the VMWare GUI and do not connect from the dropbox to the VMs.
Wrap up
Yeah there goes. My little yourney finally came to an end. It was more thinking and tinkering than acutally doing as I had to wrap my head around different concepts, tools and situations.
Stay safe and happy remote hacking.
LuemmelSec